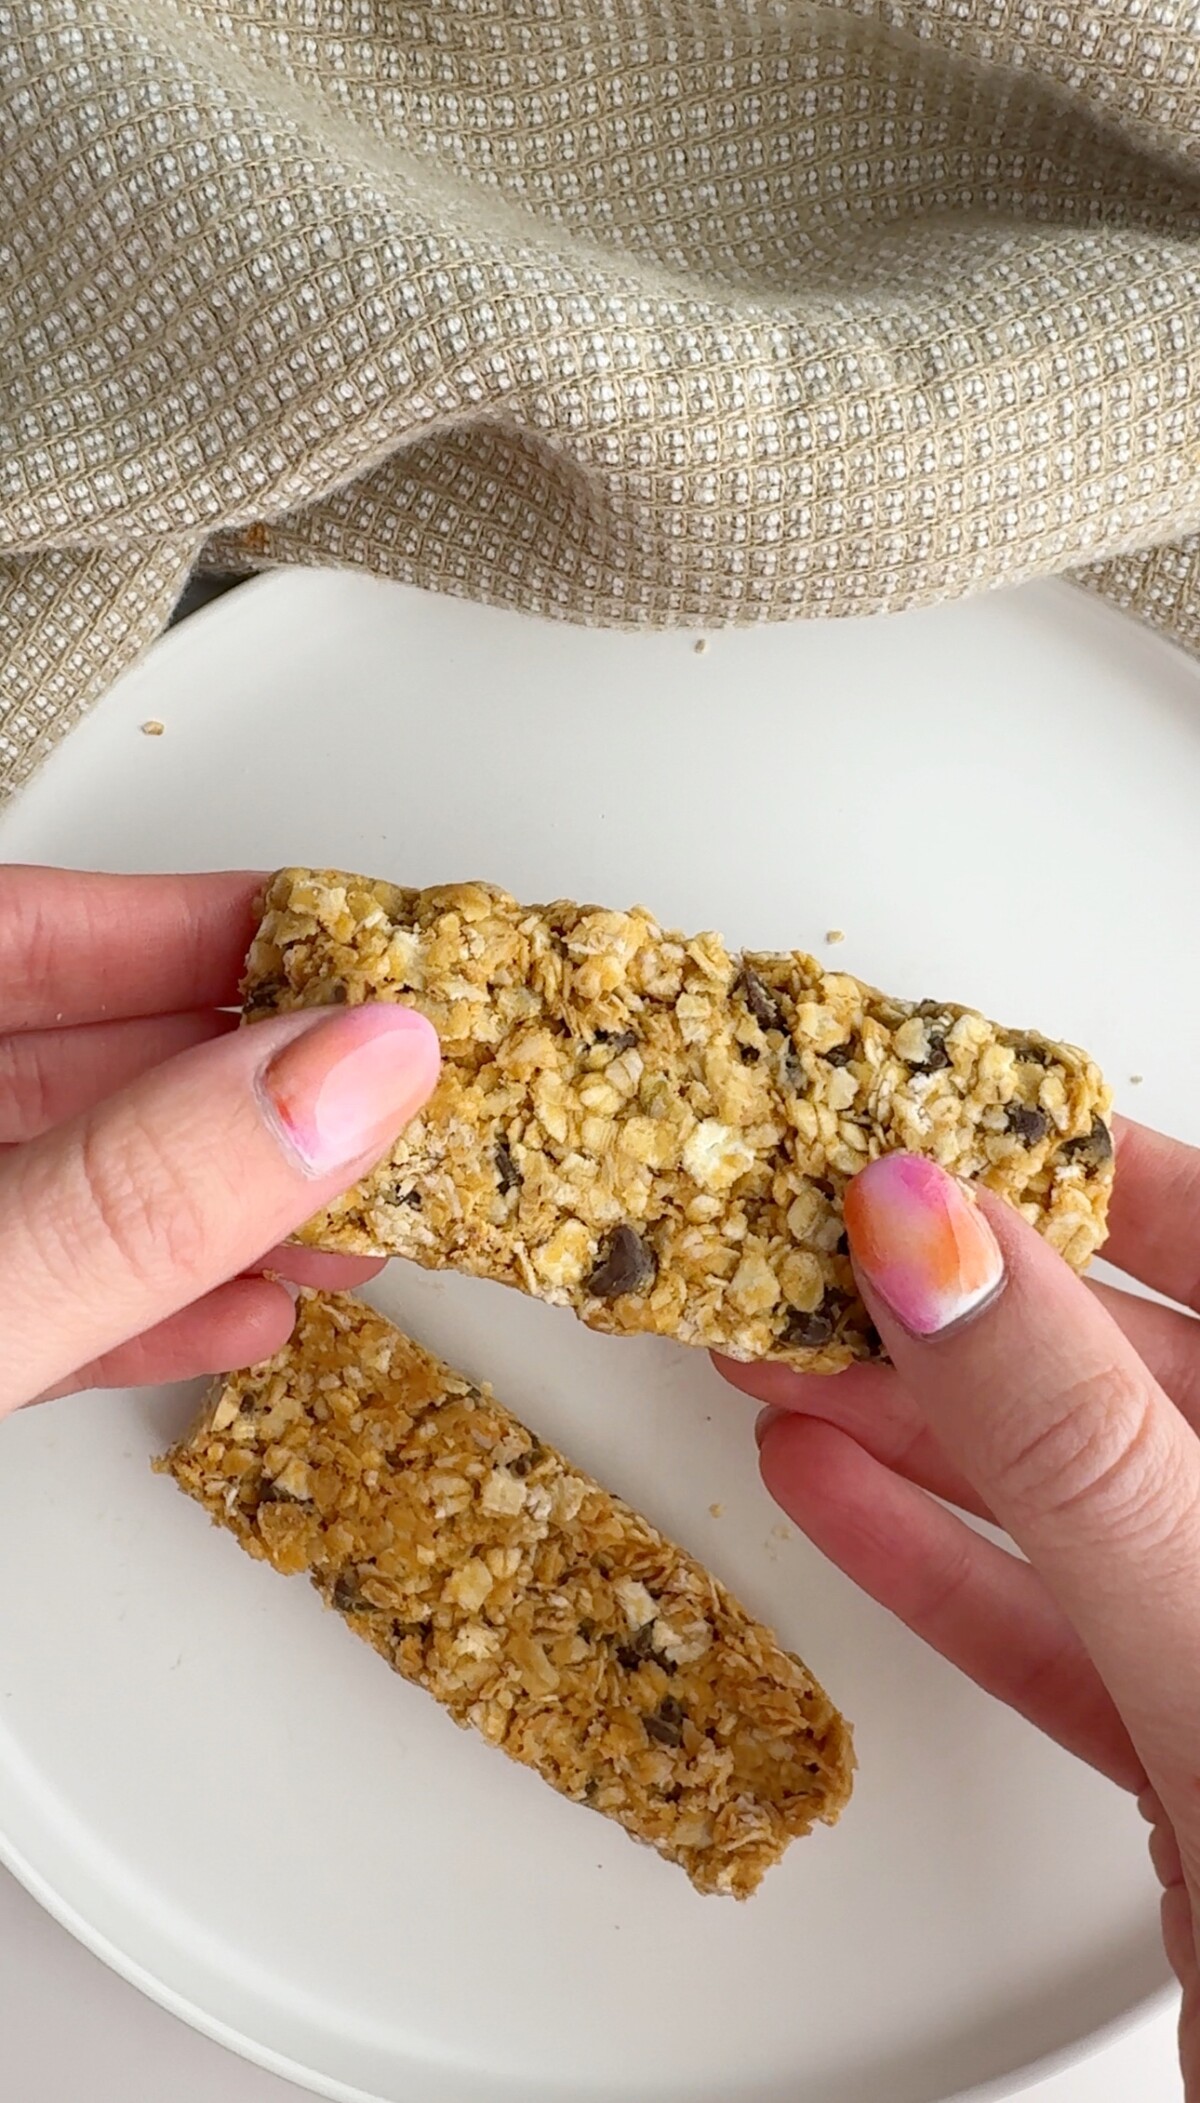
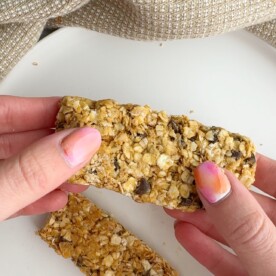
Homemade Granola Bars
on May 18, 2024, Updated May 17, 2025
This post may contain affiliate links. Please read our disclosure policy.
These easy Homemade Granola Bars are a delightful, no-bake snack that’s both nutritious and toddler-approved. With just five simple ingredients—peanut butter, honey, vanilla extract, rolled oats, and mini chocolate chips—you can whip up a batch of chewy bars perfect for lunchboxes, after-school snacks, or on-the-go treats. They’re a healthier alternative to store-bought granola bars, free from preservatives and artificial ingredients. Plus, they’re a fun kitchen project you can do with your little ones!
Why Homemade Granola Bars are Great for Toddlers and Families
- Nutritious: These granola bars are made with natural ingredients like peanut butter and rolled oats, providing a good source of protein, fiber, and healthy fats that are essential for growing toddlers.
- Customizable: You can easily tweak the recipe to include your family’s favorite add-ins, such as dried fruits, nuts, seeds, or even a dash of cinnamon for extra flavor.
- Convenient: These bars are perfect for busy mornings, lunchbox treats, or after-school snacks. They’re easy to pack and don’t require refrigeration, making them ideal for on-the-go families.
- Kid-Friendly: The natural sweetness from honey and the mini chocolate chips make these bars appealing to toddlers, while also being healthier than store-bought versions with added sugars and preservatives.
Ingredients
- 1 cup peanut butter
- 1/3 cup honey
- 1 tsp vanilla extract
- 2 1/2 cups rolled oats
- 1/3 cup mini chocolate chips
How to Make Peanut Butter Granola Bars
- In a large bowl, combine the peanut butter, honey, and vanilla extract. Mix until smooth and well-blended.
- Add the rolled oats and mini chocolate chips to the peanut butter mixture. Stir until all the ingredients are evenly combined.
- Line an 8×8 inch baking dish with parchment paper, leaving some excess hanging over the sides for easy removal.
- Transfer the mixture to the prepared baking dish. Place another piece of parchment paper on top and press down firmly to flatten the mixture evenly.
- Refrigerate the granola bars for 1-2 hours to allow them to set.
- Once set, remove from the fridge and use the excess parchment paper to lift the granola bars out of the dish. Cut into bars or squares of your desired size.
Substitutions
Peanut Butter: Swap with almond butter, cashew butter, or sunflower seed butter for a nut-free option.
Honey: Replace with maple syrup or agave nectar for a vegan-friendly version.
Rolled Oats: Use certified gluten-free oats for gluten sensitivities.
Mini Chocolate Chips: Substitute with dried fruits like raisins or cranberries, or use chopped nuts for added crunch.
Storing Extra Homemade Granola Bars
- Keep the bars in the refrigerator for up to two weeks. This will also help them stay firm and chewy.
- If you want to make a larger batch, these granola bars freeze well. Wrap each bar individually in parchment paper or plastic wrap, and then place them in a freezer-safe ziplock bag. They can be frozen for up to 3 months. To enjoy, simply thaw at room temperature or in the refrigerator.
Common Questions
Are these toddler-friendly granola bars gluten-free?
- To make sure your granola bars are gluten-free, use certified gluten-free rolled oats and double-check your chocolate chips and other mix-ins for hidden gluten ingredients.
How do I get them to hold their shape?
- Make sure to press the mixture firmly into the pan to help the bars hold together. If you swap the honey for maple syrup the bars might not hold as well.
Can I serve these no-bake bars with anything?
- These easy granola bars are great on their own, or served with a side of yogurt!
More Healthy Toddler Snacks
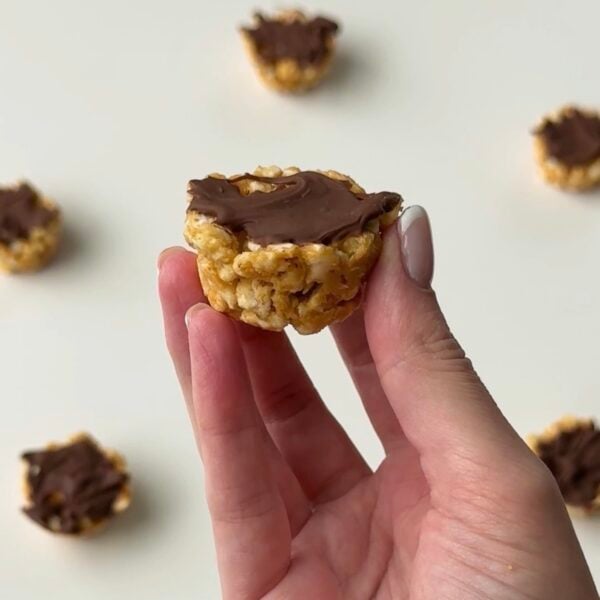
Easy Peanut Butter Banana Bites – These no-bake Peanut Butter Banana Bites are made with just two ingredients and ready in minutes! A simple and fun toddler snack that’s full of healthy fats, fruit, and protein—perfect for little hands and growing appetites.
Healthy Banana Chocolate Chip Ice Cream – This Healthy Banana Chocolate Chip Ice Cream is made with frozen bananas and chocolate chips. Creamy, naturally sweet, and dairy-free, it’s a refreshing toddler treat or dessert.
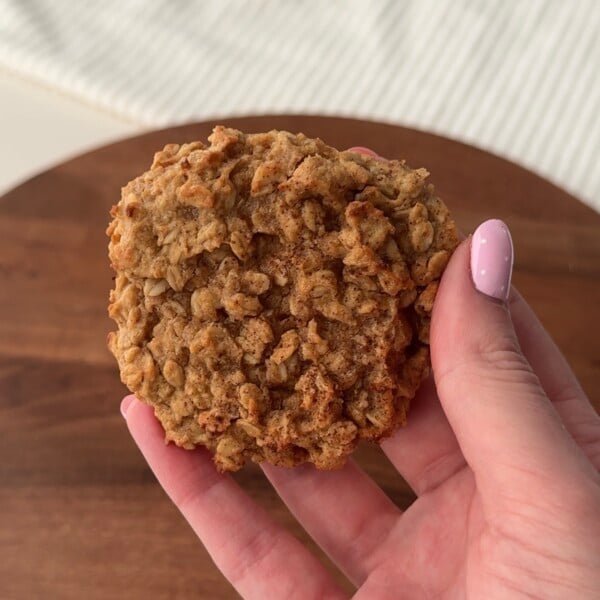
Flour-Free Peanut Butter Chocolate Muffins – These soft, flour-free Peanut Butter Chocolate Muffins are made with wholesome ingredients and naturally sweetened with banana. Perfect for toddlers, they’re gluten-free, protein-rich, and ideal for breakfast or snacks.
Blueberry Bars – These easy Blueberry Bars are soft, fruity, and made with oats and fresh or frozen berries. A naturally sweet snack or breakfast for toddlers that’s freezer-friendly and great for make-ahead meal prep.
Avocado Chocolate Pudding – Avocado Chocolate Pudding is a creamy, nutrient-rich dessert made with just a few simple ingredients. Naturally sweet and packed with healthy fats, it’s a toddler-friendly treat that feels like a treat but fuels their day.
If you loved these kid-friendly homemade granola bars let me know! Tag me @reallittlemeals so I can hear about all of your delicious creations!
Homemade Granola Bars
Ingredients
- 1 cup peanut butter
- 1/3 cup honey, (ages 1+)
- 1 tsp vanilla extract
- 2.5 cups rolled oats
- 1/3 cup mini chocolate chips, must be mini. If you dont have mini, chop up some chocolate.
Instructions
- In a large bowl, combine the peanut butter, honey, and vanilla extract. Mix until smooth and well-blended. Add the rolled oats and mini chocolate chips to the peanut butter mixture. Stir until all the ingredients are evenly combined.
- Line an 8×8 inch baking dish with parchment paper, leaving some excess hanging over the sides for easy removal.
- Transfer the mixture to the prepared baking dish. Place another piece of parchment paper on top and press down firmly to flatten the mixture evenly.
- Refrigerate the granola bars for 1-2 hours to allow them to set.
- Once set, remove from the fridge and use the excess parchment paper to lift the granola bars out of the dish. Cut into bars or squares of your desired size.
Notes
Nutrition
Nutrition information is automatically calculated, so should only be used as an approximation.
Easy to make and a taste amazing !
Super easy to make! And deliciuos! Thank you!
I made these with my 3 littles and they taste so good!! My one problem was that they crumble when I try to cut them into bars/squares – It didn’t stop them from enjoying them, they just added some to their yogurt after school. But, what should I add more of? Or less of? Love your posts! TY!