No-Bake Bars
on Nov 04, 2023, Updated Apr 08, 2025
This post may contain affiliate links. Please read our disclosure policy.
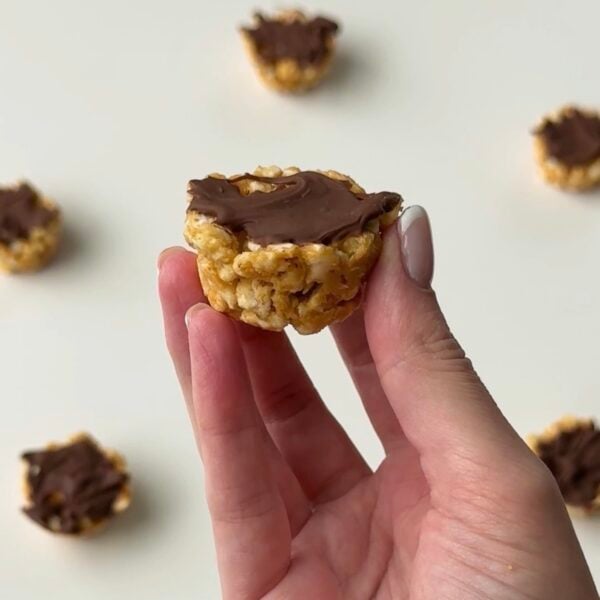
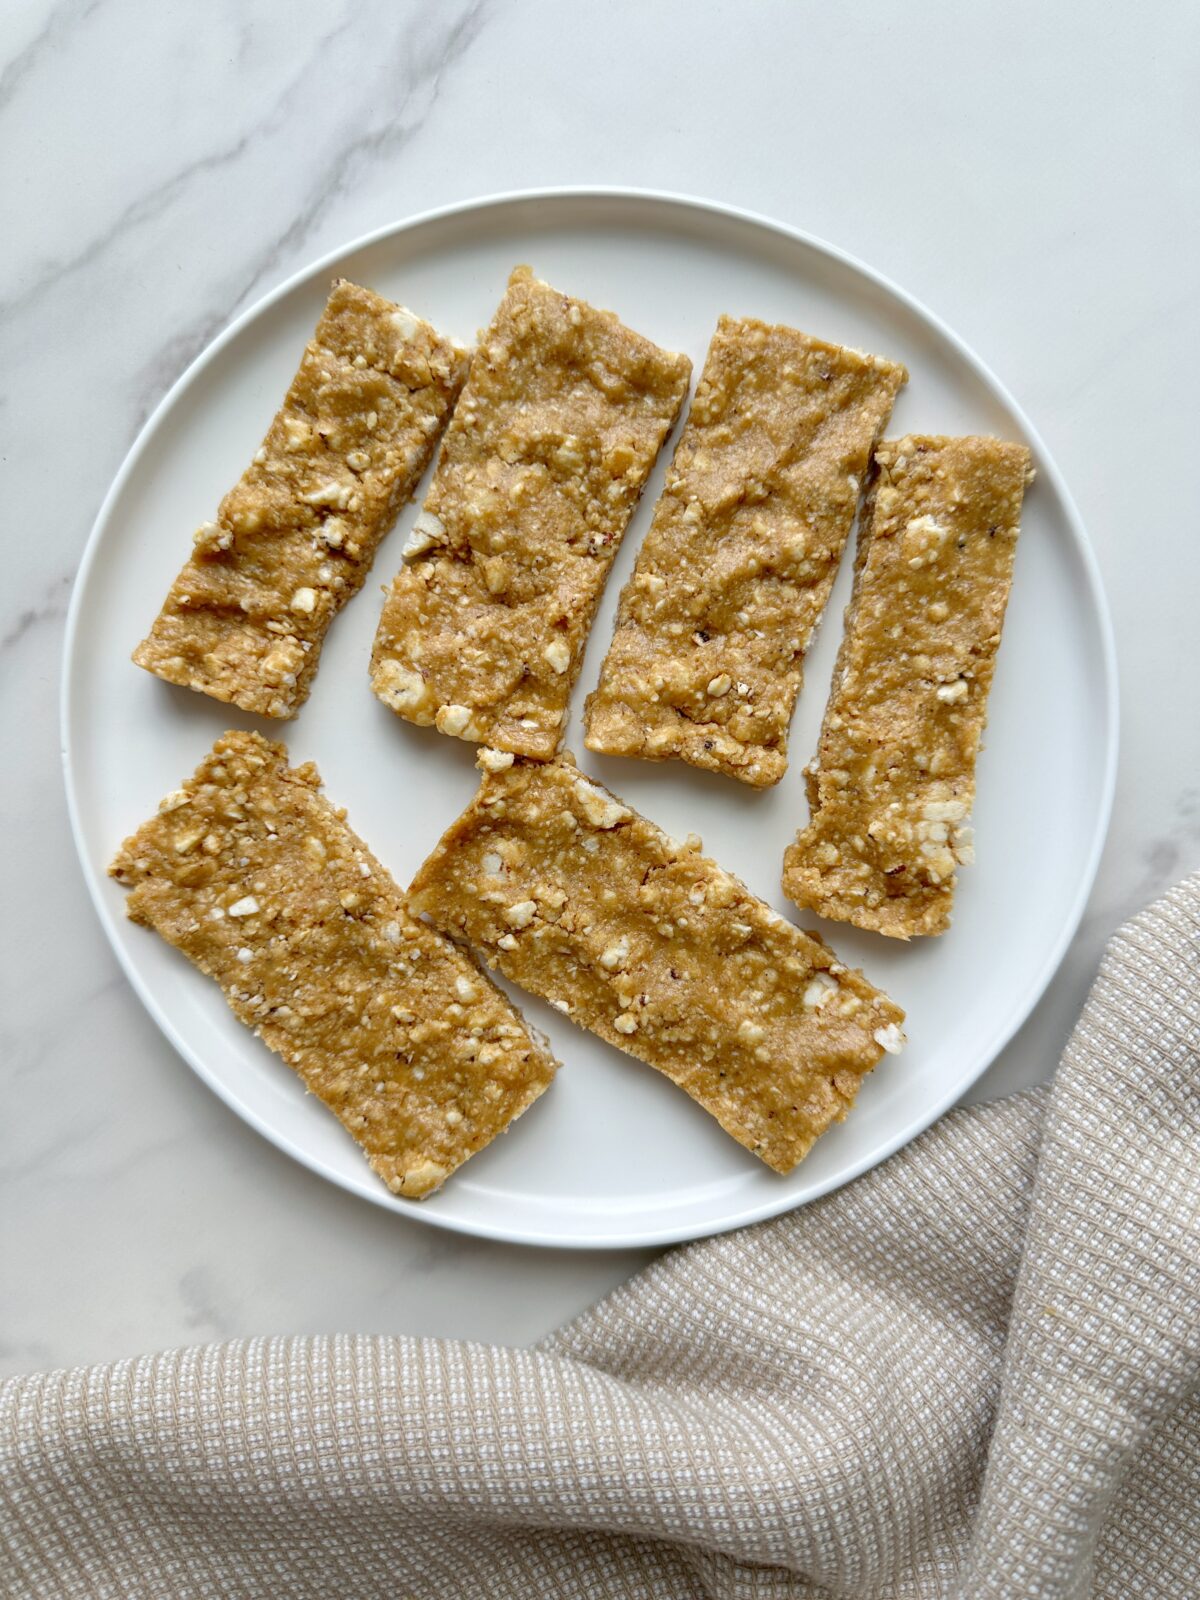
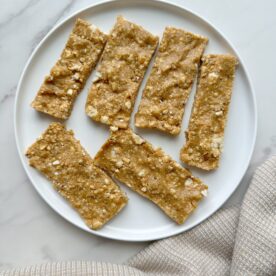
These no-bake bars only have 3 ingredients and are SO yummy! Your toddler (ages 1+ because of the honey) will love these bars! They are definitely my kids’ favorites.
Moms, we all know that toddlers can be a handful, and getting them to eat nutritious snacks can sometimes be a challenge. But fear not! I’ve got a fantastic solution for you: No-Bake Bars. These delightful treats are not only incredibly simple to make but also perfect for little ones who love a quick and yummy snack.
Why No-Bake Bars Are Great for Toddlers
- Quick and Easy: As busy moms, we’re always on the lookout for quick and easy recipes. These No-Bake Bars take only a few minutes to prepare, making them the perfect snack for busy days.
- Minimal Ingredients: With just three simple ingredients, this recipe is budget-friendly and uses items you likely already have in your pantry – rice cakes, honey, and peanut butter.
- Healthy and Nutritious: Rice cakes are a great source of whole grains and dietary fiber, while peanut butter provides healthy fats and protein. Honey adds natural sweetness without any added sugars.
- No-Bake, No-Fuss: No need to turn on the oven or spend hours in the kitchen. Simply blend the ingredients, press into a dish, and refrigerate. It’s as simple as that!
- Kid-Friendly: The taste and texture of these bars are perfect for little taste buds. Plus, you can get creative and add extra ingredients like mini chocolate chips, dried fruit, or even a sprinkle of cinnamon for variety.
Now, let’s get started with the step-by-step instructions for making these delightful No-Bake Bars.
No-Bake Bars Recipe
Ingredients:
- 5-6 rice cakes (you can use more if they’re thin, less if thicker)
- 1/2 cup honey
- 1/2 cup peanut butter
Instructions:
- Start by preparing an 8×8 baking dish. You can line it with parchment paper for easy removal, but it’s not necessary.
- Place 5-6 rice cakes (more if they’re thin, less if thick) into a food processor. Pulse them until they turn into fine crumbs. You can also crush them by hand if you don’t have a food processor.
- Pour the honey and peanut butter over the rice cake crumbs in the food processor.
- Blend the ingredients until they come together to form a sticky dough.
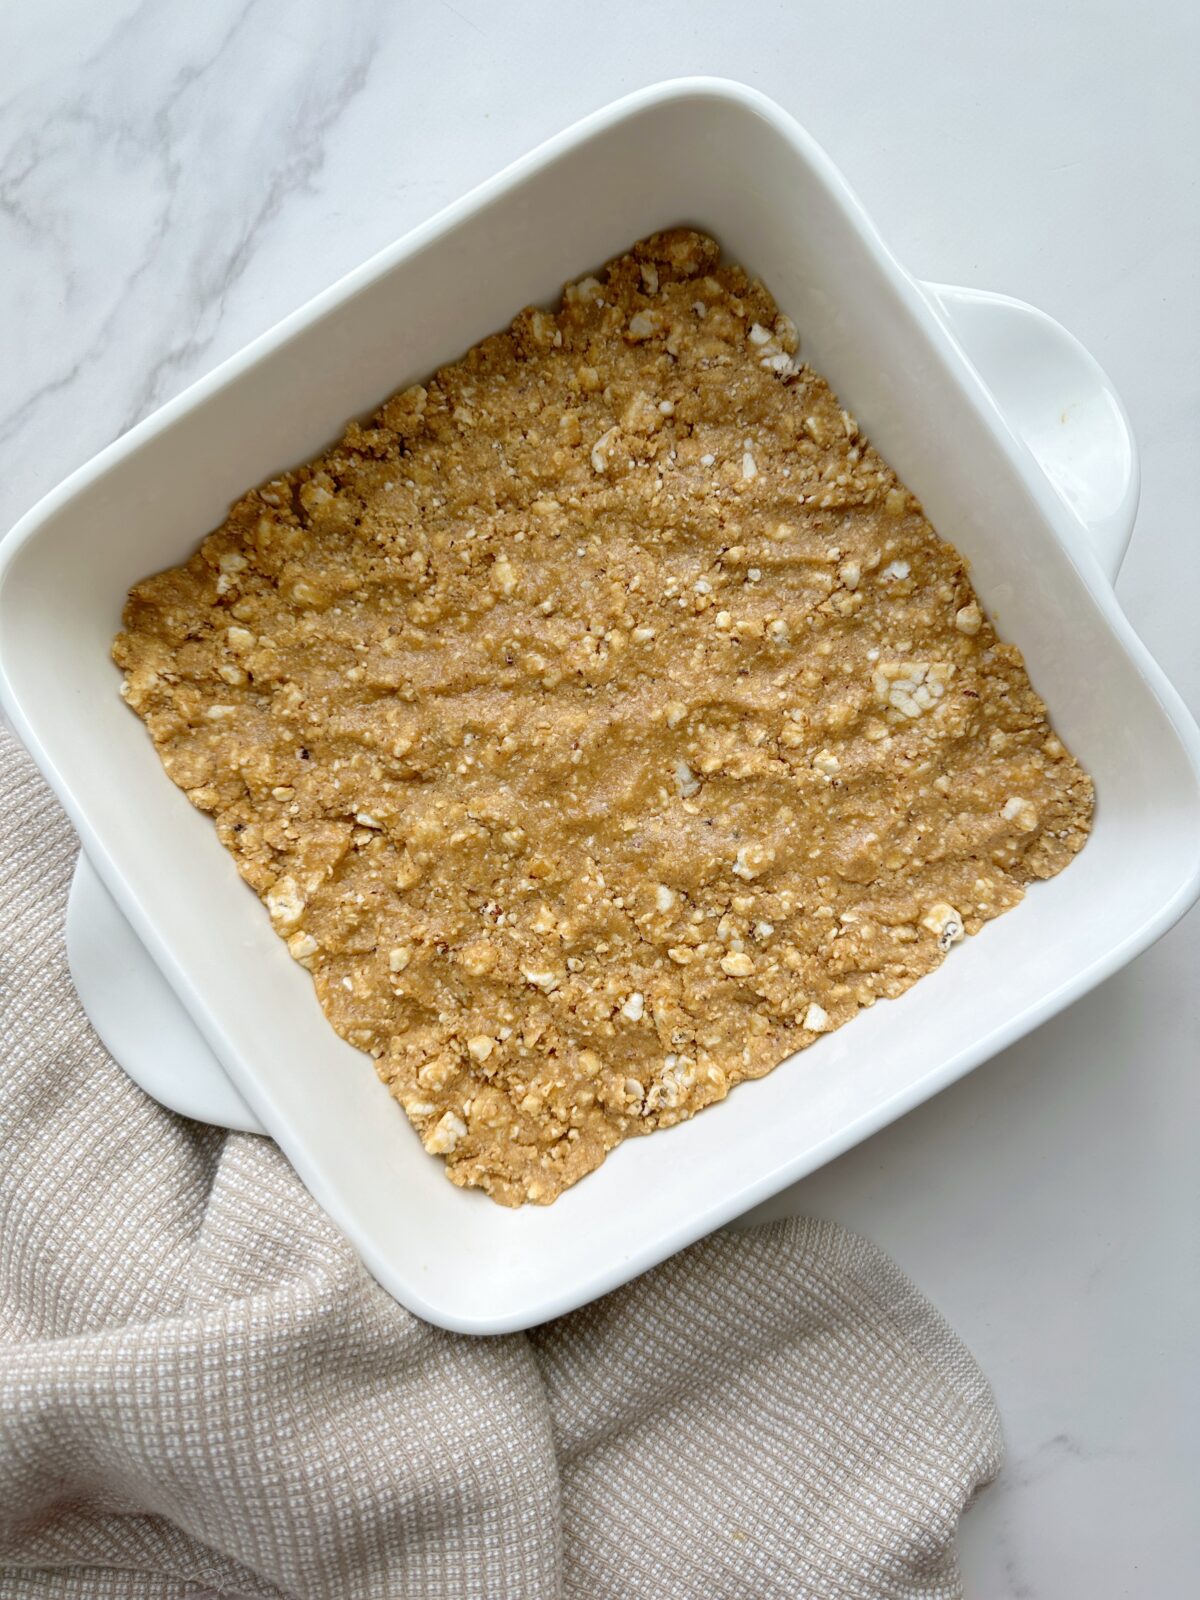
- Transfer the mixture to your prepared baking dish. Use a spatula or your hands to press it down evenly.
- Refrigerate the dish for 30 minutes to 1 hour, or until the bars have set.
- Once set, cut the mixture into toddler-sized squares or bars.
Storage Tips:
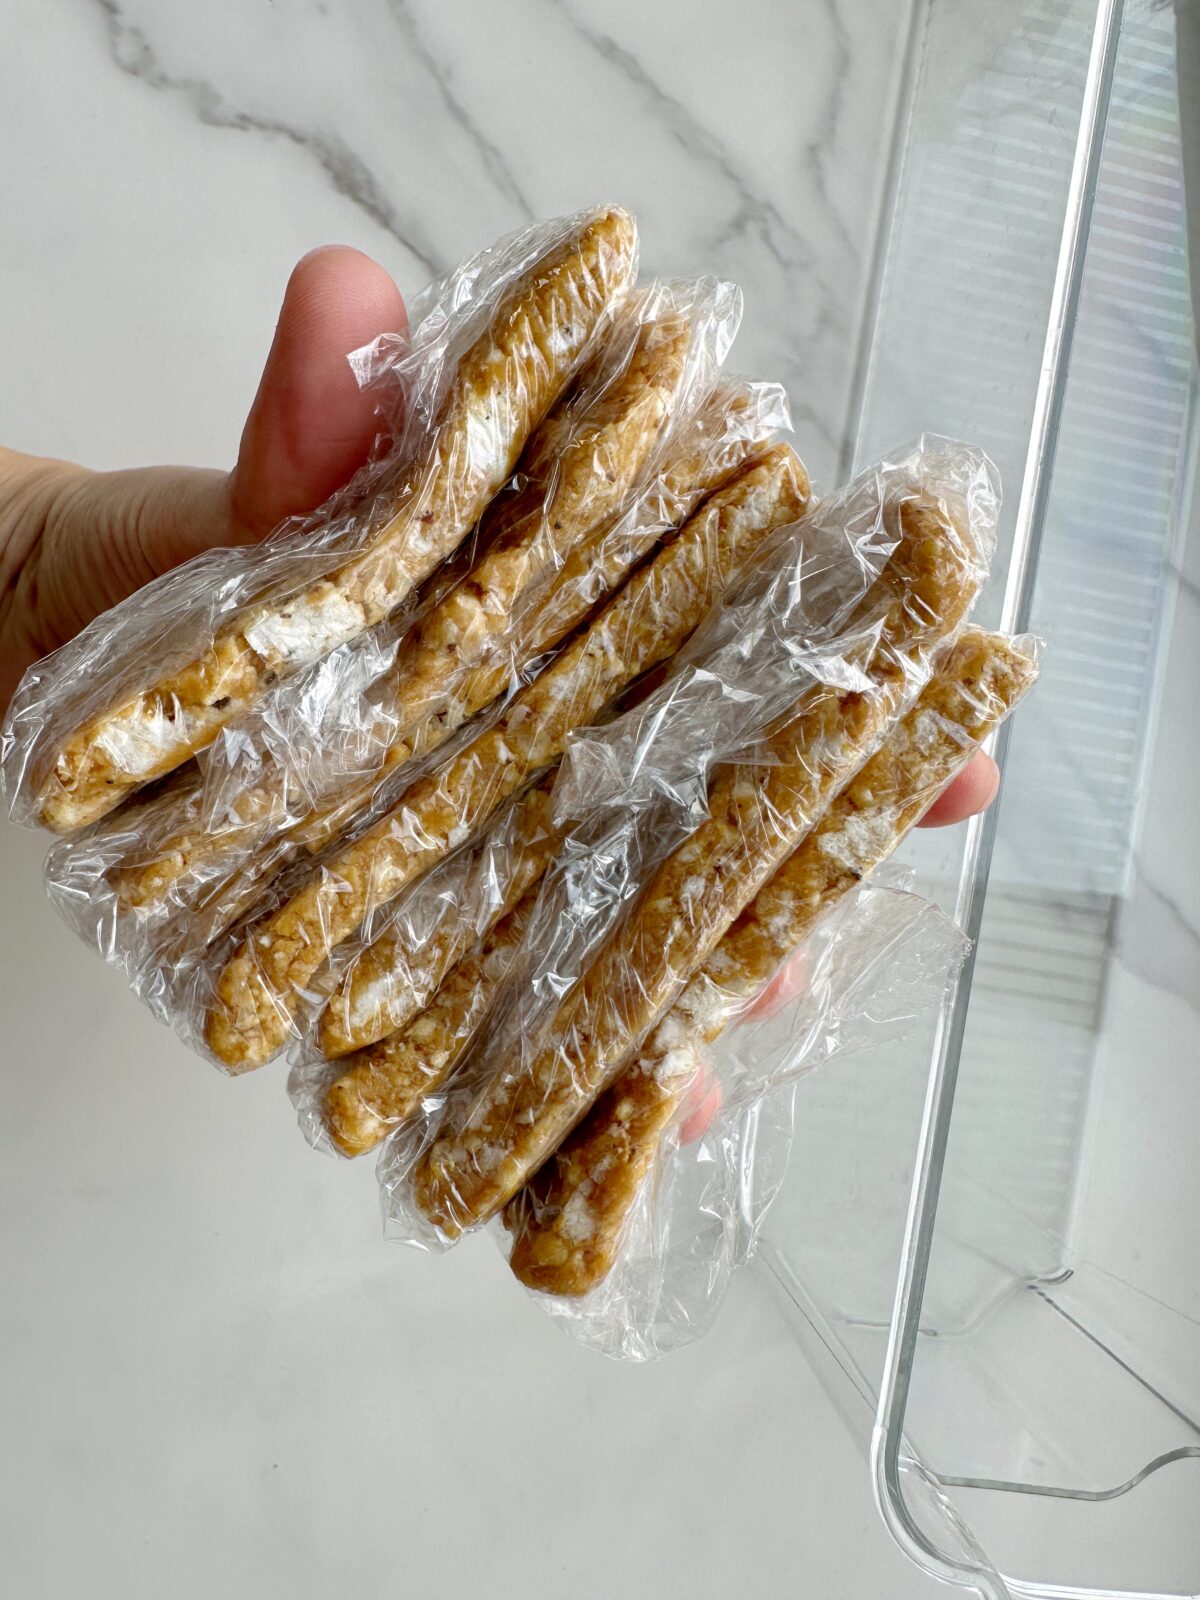
Store the No-Bake Bars in an airtight container in the refrigerator. They can stay fresh for up to a week. You can also freeze them for longer storage. Just be sure to wrap them well in plastic wrap or foil before placing them in the freezer.
No-Bake Bars
Ingredients
- 5-6 rice cakes, depending on how thick your rice cakes are
- 1/2 cup honey
- 1/2 cup peanut butter
Instructions
- Blend the rice cakes in a food processor until they turn into crumbs.
- Add the honey and peanut butter and blend until it is a smooth dough.
- Press into an 8×8 baking dish and refrigerate for 30 mins to an hour.
- Cut into bars and enjoy!
Nutrition information is automatically calculated, so should only be used as an approximation.